A Step-by-Step Guide to Applying Primer on Your Walls
Have you ever painted a room only to find that the finished product looks uneven and unprofessional? Or maybe you’ve noticed stains on your walls that just won’t go away no matter how many coats of paint you apply. If you’ve experienced any of these issues, the culprit could be a lack of primer.
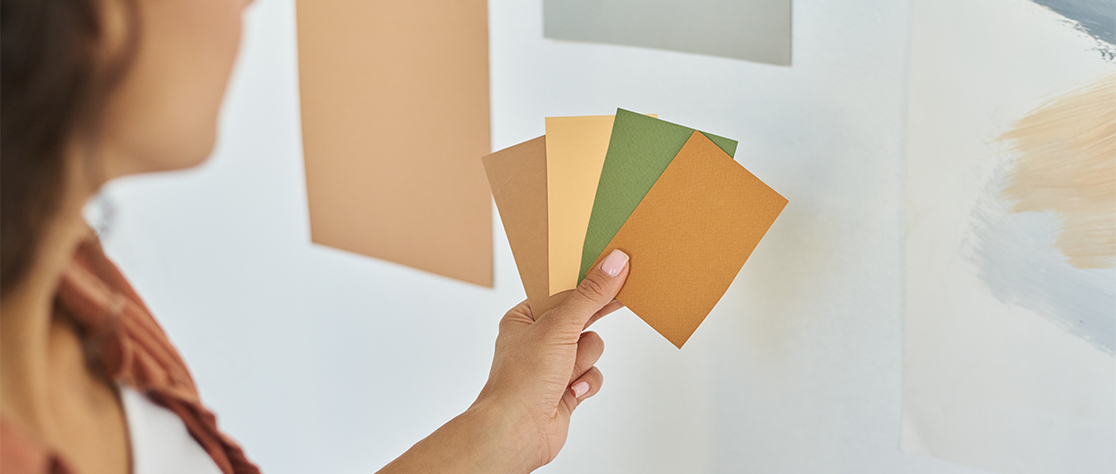
Applying primer to your walls before painting has several benefits, including improving the paint’s adhesion and coverage, creating a more uniform surface, and blocking stains. These benefits can lead to a better and more durable paint job, saving you time and money in the long run.
To further illustrate the importance of priming walls before painting, let’s consider the example of a wall with cracks and holes. If you were to paint this wall without priming it first, the cracks and pin holes would still be visible after painting, resulting in an uneven and unattractive finish.
However, by priming the wall, the primer will fill in the cracks and pin holes, creating a more even surface for the paint to adhere to. This will result in a smoother and more polished finish. In this article, we will provide a step-by-step guide for applying paint primer to ensure a professional and flawless paint job.
Step 1: Gather Your Materials :
Before starting, make sure you have all the necessary materials. You will need paint primer, paintbrushes, a roller, a roller tray, sandpaper, a putty knife, and painter’s tape.
Step 2: Clean and Prep the Surface
Clean the surface thoroughly to remove any dirt, debris, or grease that could affect the primer’s adhesion. Use soap and water or a degreaser, if necessary. In case the surface has any rough spots or imperfections, sand them down using sandpaper. Then, wipe down the surface with a clean cloth to remove any dust.
Step 3: Apply Painter’s Tape
If you want to protect any areas from primer or paint, apply painter’s tape around those areas. This will prevent primer or paint from getting onto areas that you do not want to paint, such as a wooden frame or wall of a different colour or finish.
Step 4: Fill in Any Pin Holes or Cracks
If the surface has any pin holes or cracks, use a putty knife to fill them in with spackle or wood filler. Once filled, sand the area down to be smooth and even.
Step 5: Stir the Primer
Before applying the primer, stir it thoroughly to ensure an even consistency. If you are using a spray,
make sure you shake the can well before use.
Step 6: Apply Primer with a Brush
If you are using a brush to apply the primer, start by dipping the brush into the primer and tapping it against the side of the container to remove any excess. Begin applying the primer to the surface with long, even strokes, working in one direction. Make sure to apply the primer evenly and without leaving any brush marks. If you notice any drips or uneven spots, smooth them out with the brush.
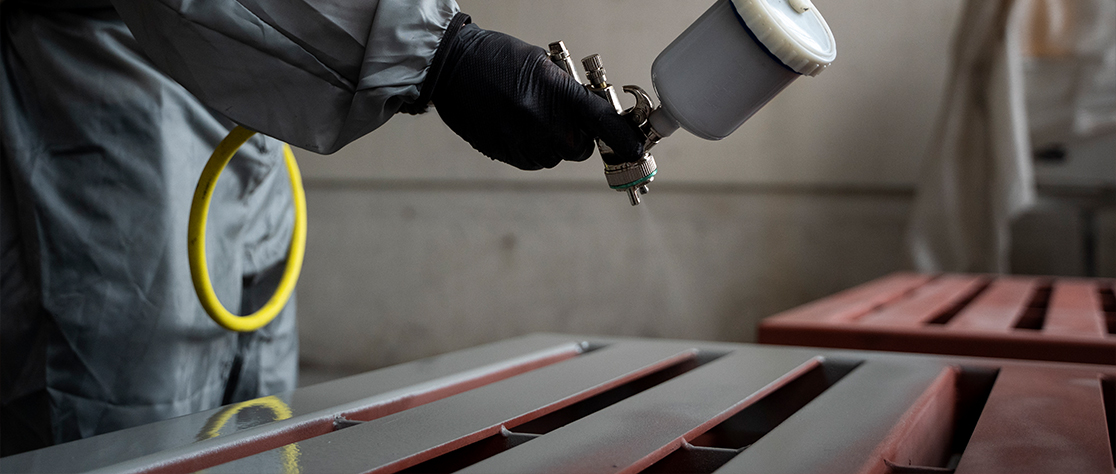
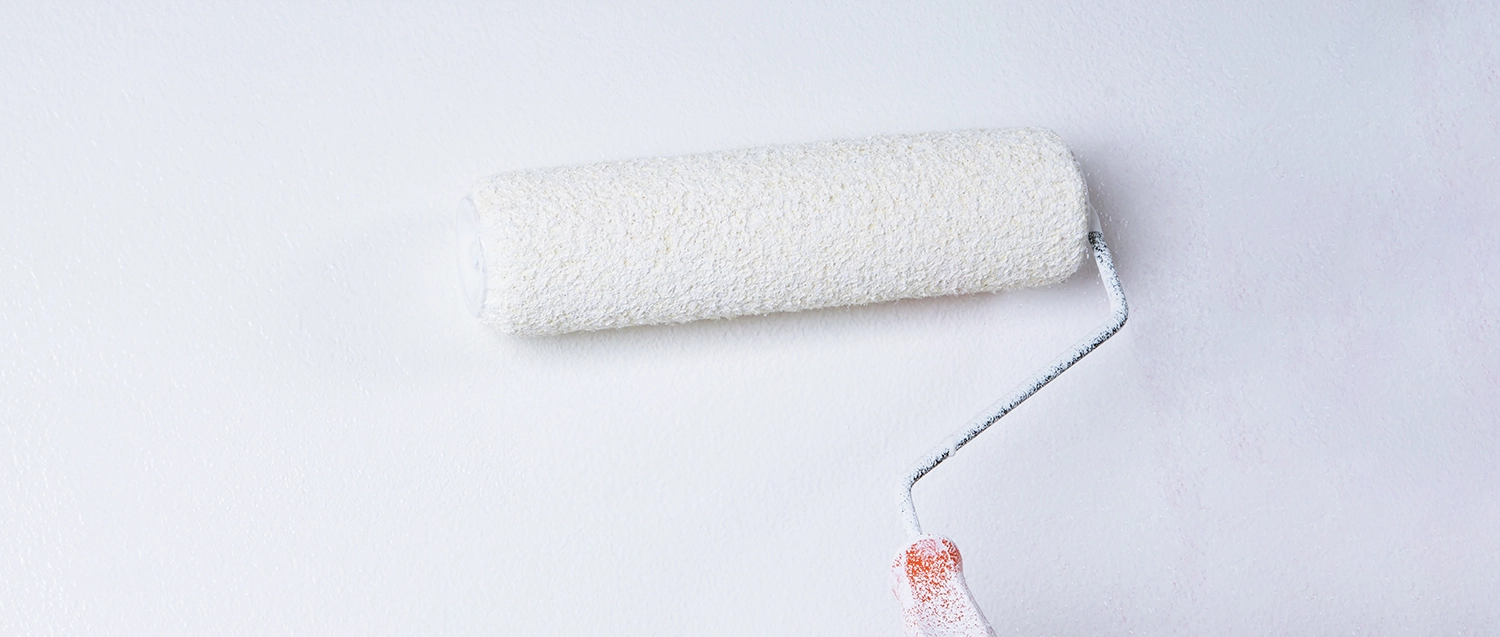
Step 7: Apply Primer with a Roller
If you are using a roller to apply the primer, pour the primer into the roller tray and dip the roller into the primer. Roll the primer onto the surface using long, even strokes, starting at the top of the surface and working your way down. Make sure to roll the primer on evenly without leaving any gaps or roller marks.
Step 8: Let the Primer Dry
Allow the primer to dry completely according to the manufacturer’s instructions. Typically, this will take about 4-6 hours, but it may vary depending on the primer you are using and the temperature and humidity in the room.
Step 9: Sand the Surface
Once the primer has dried, lightly sand the surface with a fine-grit sandpaper. This will help to smooth out any imperfections or brush marks and create a smooth surface for the final paint coat.
Step 10: Apply Paint
After sanding, you are ready to apply your first coat of paint. Apply the paint in the same way that you applied the primer, using either a brush or roller.
By following these steps, you can ensure that your paint primer is applied correctly and will provide a smooth and long-lasting finish for your final paint coat. Remember to always follow the manufacturer’s instructions for the specific primer and paint products that you are using.