Giving your home a stunning makeover is essential for leaving an everlasting impression on the people around you. Experimenting with the colour wheel and creating textures on the walls of your home can add to uplift the cheerful feeling within us. That said, while painting is the best alternative to enhance the aesthetics of your home decor, integrating wall putty in your home refurbishing essentials ensures that their beauty prolongs.
Wall putty, white cement-based fine powder, lays down a strong foundation for the paint by offering an even and smooth surface to paint over. It is made with additional polymers and other minerals, which contribute to the velvety smoothness of painted walls.
Furthermore, it ensures that the painted surfaces of your home give out the first-day appearance throughout the year. Wall putty adds a layer of defence to them against moisture intrusion, efflorescence, and the growth of mould, to create a flawless surface in the exterior and interior of your home.
Wall putties are regarded as quite a versatile material as they can be applied to any wall, from rendered, concrete, to precast walls. They provide absolute whiteness enhancing the overall appearance of the walls.

Wall putty can be applied to both interior and exterior walls for a variety of purposes.

Wall putty enhances the life of the paint on the walls. It is suitable for all types of paint and produces a beautiful finish.

Wall putty binds strongly with the base. In fact, it improves the strength of the surface.

It protects the wall from factors like crack formation, efflorescence, flaking, mould formation, and much more.

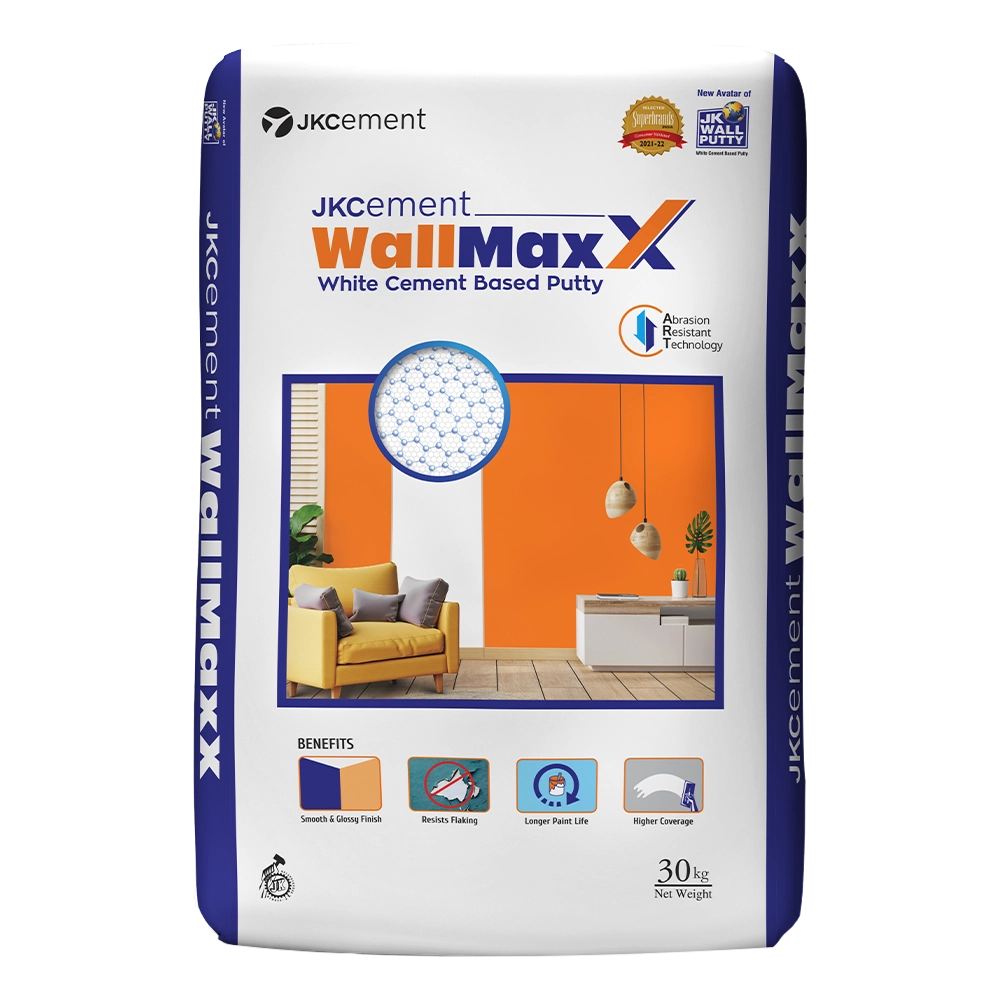
Wall putty offers a smooth, glossy finish and imparts a sparkling whiteness to the applied surface.
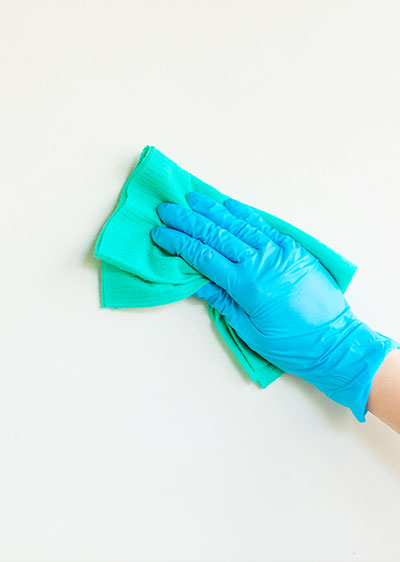
Clean the surface thoroughly. It is essential to free the surface prior to wall putty application from oil, solvents, dirt and dust.
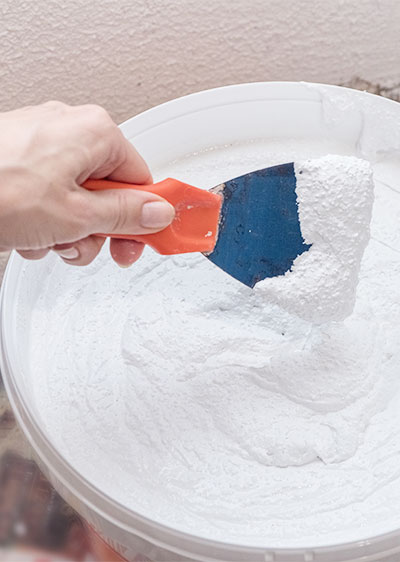
Mixing with a mechanical stirrer is recommended to make a homogenous and lump-free paste. JKCement wall putty and its variants should be mixed slowly to form a smooth, and homogenous paste. Wait for 5 minutes before applying the paste. Furthermore, the prepared paste should be applied within 2-3 hours.
Before wall putty application, pre-wet the wall surface to remove loose dust particles.
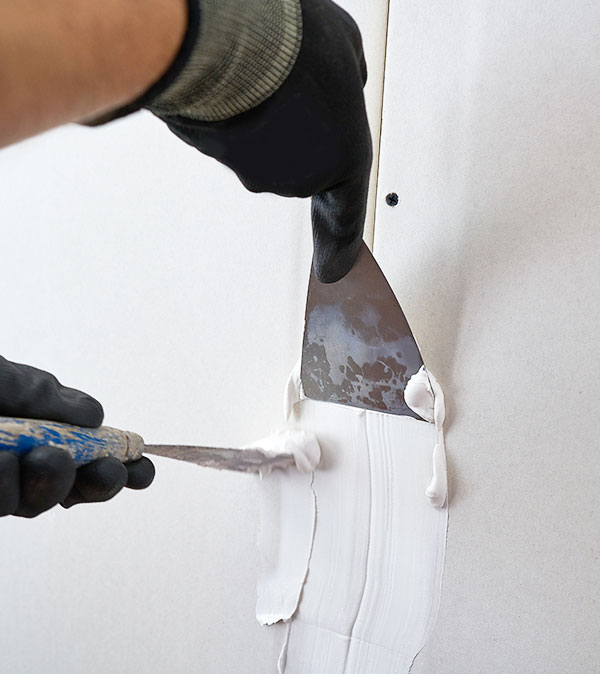
Using a spatula/ blade/ trowel, apply the first coat of the homogenous paste from the bottom to the top and the second coat horizontally.
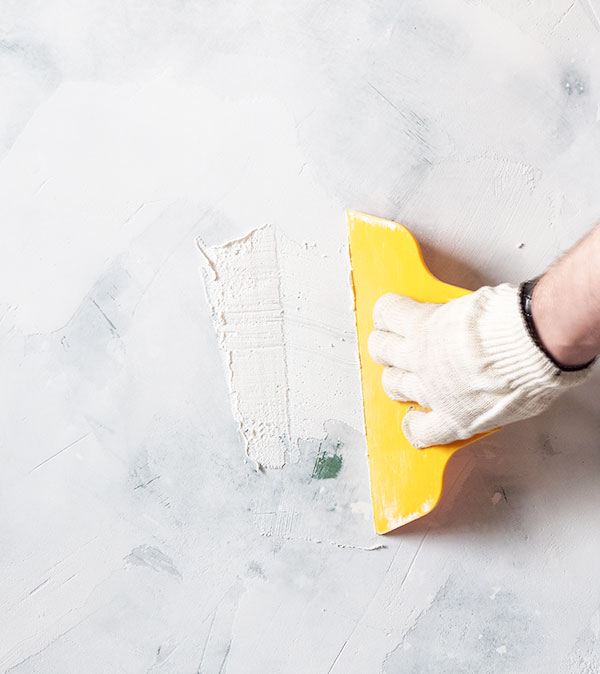
Once the first coat dries, clean the surface to remove loose particles with a sponge/ cloth/ putty blade before the second coat application.
Before the application of distemper or paint for a premium look, wait for the surface to dry completely.


Ans. Wall putty is used for the following reasons:
Wall putty has an excellent bonding property which protects the walls from the ill effects of abrasion and can help in creating a smooth surface by covering all the undulations, for a beautiful paint finish.
Ans. Wall putty and white cement are not the same. But, they are related to each other as most wall putties are white-cement based. Apart from this, wall putties are used for filling pin holes, whereas white cement is used for repairing marble tiles and sheathing roofs, walls, ceilings, etc.
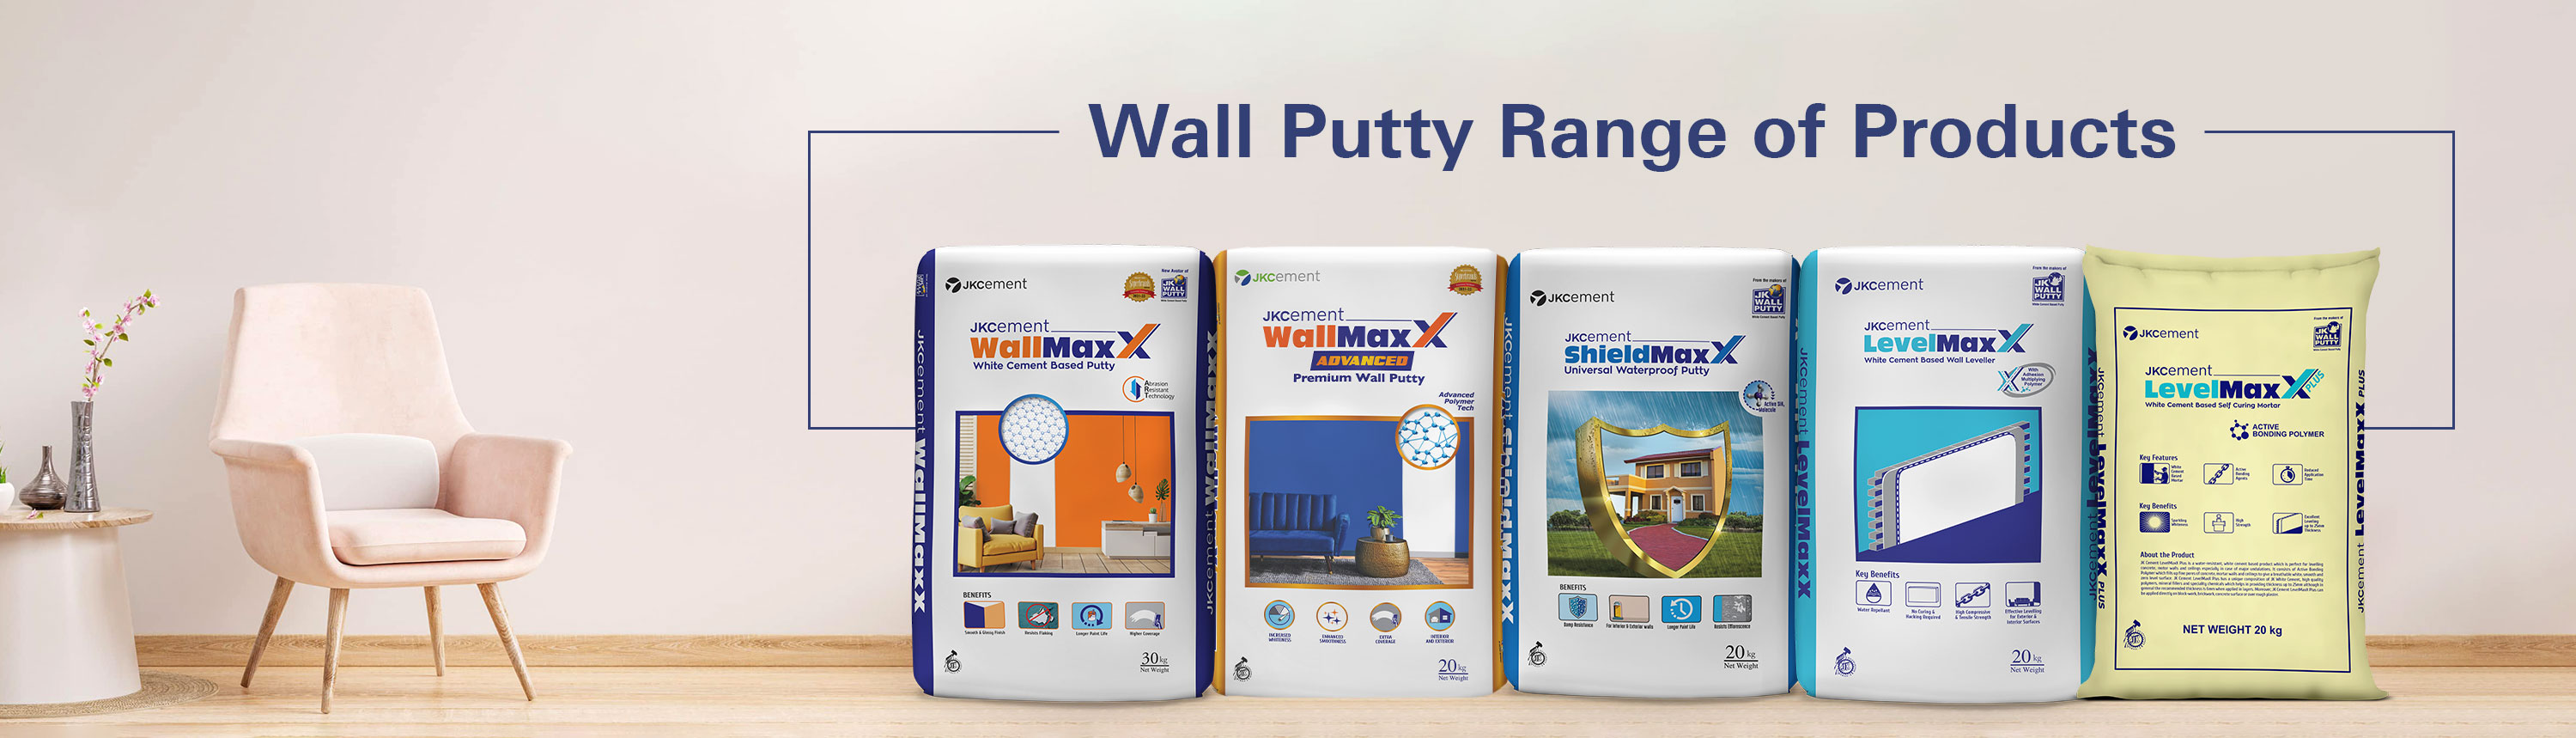
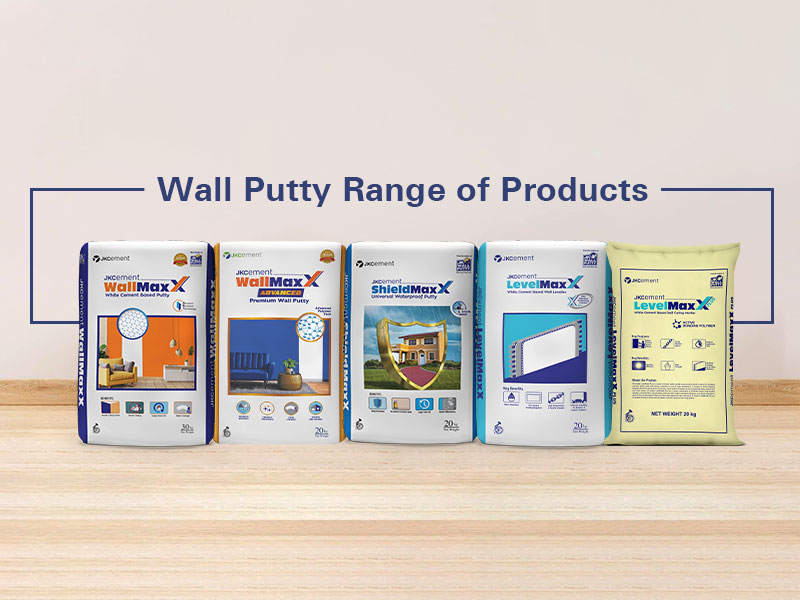
Ans. The best putty for walls is JKCement’s MaxX range of wall putties. They prevent mould formation and resist efflorescence. Furthermore, these putties also ensure that the interior and exterior walls of one’s home are always smooth and glossy.
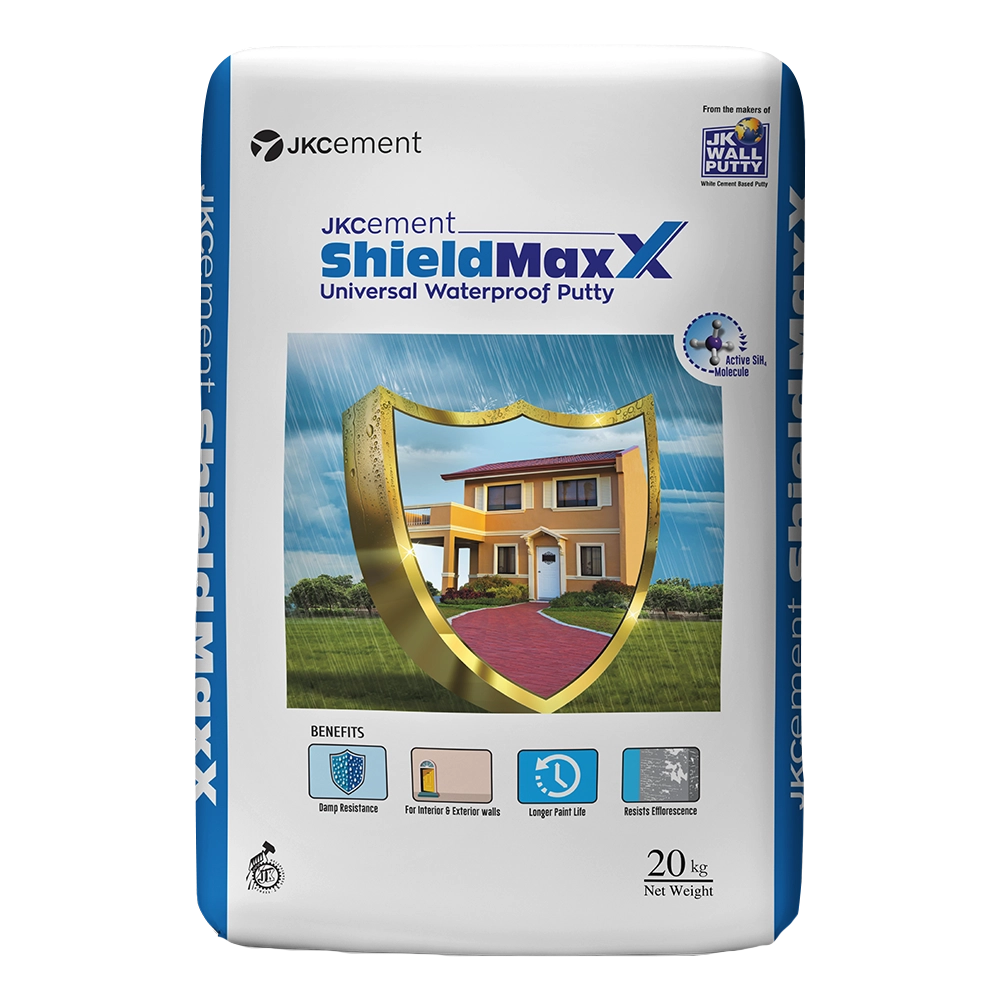
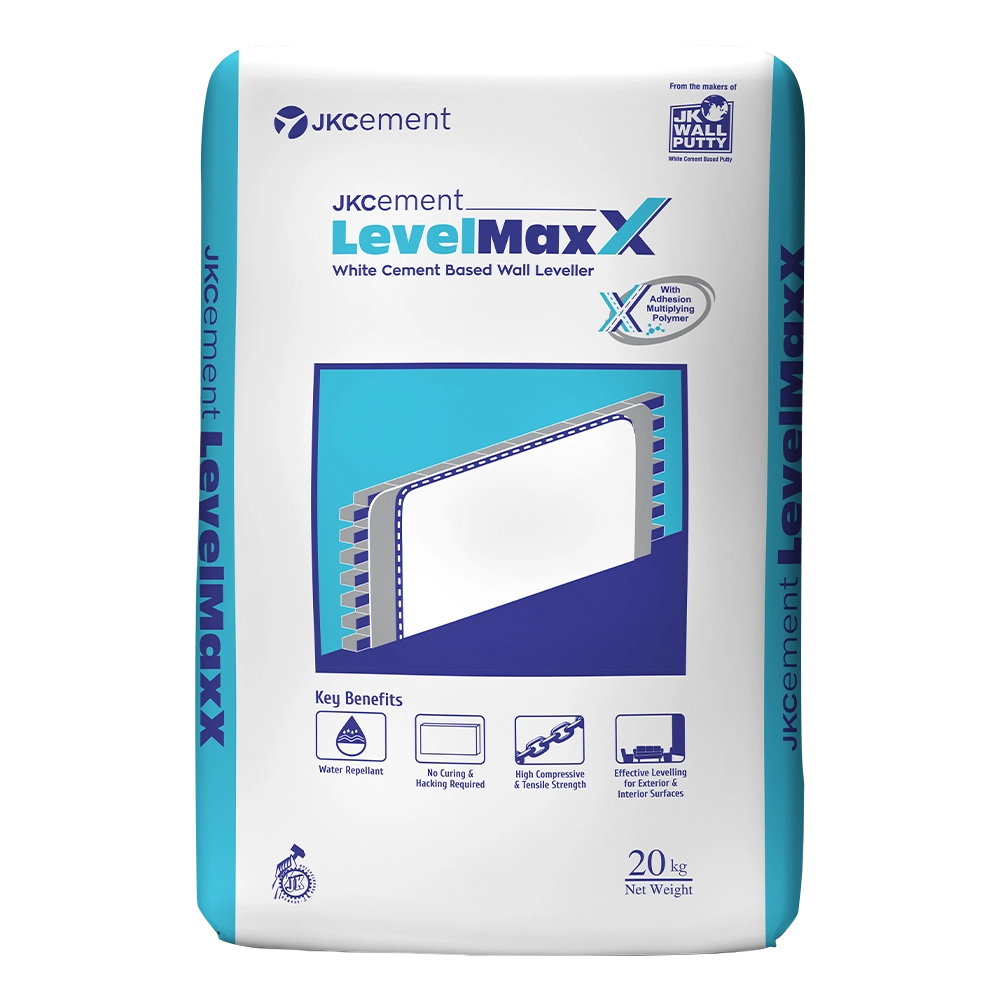
Ans. There are certain variants of wall putties, such as JKCement ShieldMaxX which is damp-resistant and suitable for application on exterior walls.
Ans. The application of primer is optional, however, it is recommended to apply primer after putty application. Especially, in the case of using white cement-based wall care putty such as JKCement MaxX.
Ans. Yes, it is necessary to apply putty before painting as it is essential for the increased paint life of the wall paint. Additionally, it equips the walls with a protective layer against abrasion, moisture, and efflorescence and levels the undulations for a smooth wall surface prior to painting.
Ans. For the wall putty to completely dry, it takes 4-6 hours.
Ans.
Ans. The right way to apply putty is:
Ans.
At JK Maxx Paint, we offer a premium wall putty that is designed to fill cracks, surface imperfections and dents. It helps create a flawless base before applying indoor or outdoor wall paints. Used to improve paint hold and durability, applying putty is easy and it provides ultra-smooth texture.
Its dust-resistant properties allow easy sanding and high-performance. Ideal for bedroom, living rooms and building exteriors. Wall putties are regarded as quite a versatile material as they can be applied to any wall, from rendered, concrete to precast walls. They provide absolute whiteness, enhancing the overall appearance of the walls.
Strong foundations are built with strong wall primer putty. Whether you’re repainting your office space or constructing a high-rise building, wallcare putty sets a strong base for your next real estate project. We provide weather-resistant JK wall putty for a smooth, strong and ready to shine canvas. It also acts as a protective layer against moisture, humidity and other environmental factors.
Wall putty is a white-cement based, waterproof fine powder that ensures strong binding and a smooth finish. Its rich formulation, enriched with polymers and minerals provides extensive coverage. Prevents flaking, dampness and mould formation. Get assured of aesthetic interiors and long-lasting durability.
● Superior Versatility
Interior and exterior wall putty is suitable for multiple surfaces such as ceilings or precast surfaces. Binds strongly with the base and accepts all types of paint and distemper application.
● Improved Paint Durability
Expands the longevity of the wall paint and creates a strong, smooth base. Improves colour payoff and brings out the true tone of the shade.
● Excellent Binding
Strong binding with cement, concrete and plastered walls. Prevents flaking and resists dampness on painted surfaces.
● Damage Protection
Prevents the growth of algae and fungus while acting as a protective base. It protects the walls against moisture, humidity, heavy rains and other environmental factors. The EXTRA HP polymers result in water resistance.
● Sheen Finish
Delivers a natural, premium finish that gives your walls a clean look. The high-sheen finish helps create a smooth canvas for wall paint application.
| Aspect | Wall Putty | White Cement |
|---|---|---|
| Purpose | Surface preparation for smooth paint application | Used for decorative work, grouting, and as a base ingredient in putty |
| Composition | White cement + polymers + additives | Pure white Portland cement |
| Finish | Smooth, velvety finish | Rougher finish, needs further treatment for painting |
| Application Area | Interior & exterior walls. Ideal for pre-painting | Flooring, decorative patterns, tile joints, and wall repair |
Shop for the best putty for walls in India at JK Maxx Paints. Our high-performance products offer premium wall putty artwork and a smooth finish.
1. What is wall putty used for?
Wall putty has an excellent binding property which helps create a smooth surface and improve durability. Find the best wall in India at JK Maxx Paint for versatile such as surface preparation for interior and exterior walls.
2. Is wall putty the same as white cement?
No. Wall putty and white cement differ in many aspects such as composition, finish, usage, resistance properties and cost. While wall putty is a white-cement based formulation, white cement is a type of Portland cement made from raw materials.
3. Which is the best putty for walls?
Find the best wall putty in India at JK Maxx Paints. Powered by JKCement, our MaxX range comprises the best wall putty for interior and exterior walls, delivering smooth and flawless finish.
4. Can wall putty protect against dampness?
Yes. Most of our putty for walls such as JKCement ShieldMaxX are damp-resistant and suitable for application on exterior walls.
5. Is primer necessary after putty?
Primer after putty is optional, however, it is recommended to apply primer after putty application. Especially, in the case of using white cement-based wall care putty such as JKCement MaxX.
6. Is putty necessary before painting?
Yes, it is necessary to apply putty before painting the walls. Whether you’re considering wall putty design in home or office, it equips the walls with a protective layer against abrasion, moisture, and efflorescence and levels the undulations for a smooth wall surface prior to painting.
7. How long does putty take to dry?
Usually, it takes 4-6 hours for putty to completely dry. Whether you’re using acrylic wall putty or white-cement based wall putty, you need to let it dry for atleast 4 hours.
8. What are the points to remember while applying putty?
Firstly, make sure the wall is completely clean before painting putty on the wall. Always mix water and putty in the right ratio as per the manufacturer’s instructions. The mixture should be smooth and lump-free. Mix the putty homogeneously with a mechanical stirrer. Let it sit for atleast 30 minutes before application.
9. How to apply putty?
The right way to apply putty is:
10. Why do you need a wall putty?
Wall putty has multiple purposes which are listed as follows: