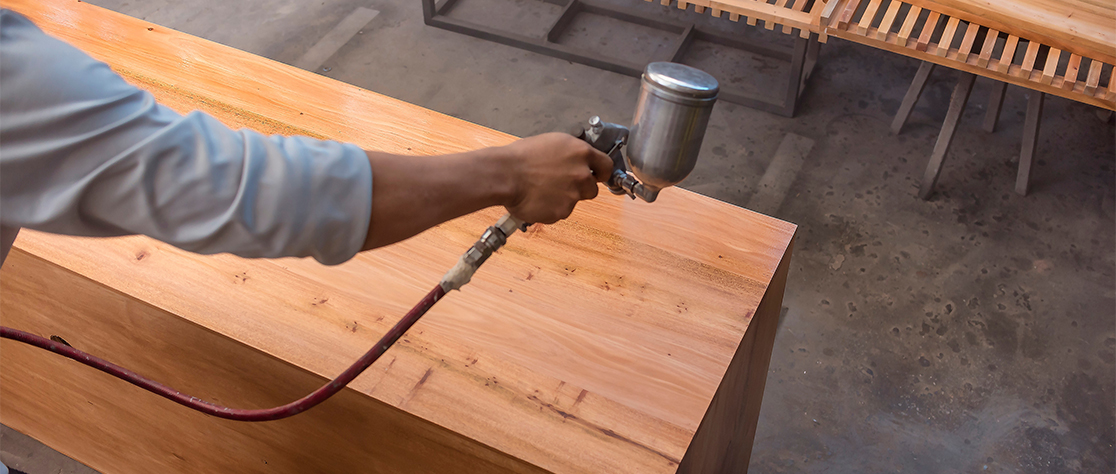
DIY Tips for Applying Italian Wood Finishes at Home

Applying Italian wood finishes at home can transform your furniture and woodwork into elegant and luxurious pieces. With the right techniques and quality products, you can achieve professional-looking results. Here’s how to do it yourself using Italian wood finishes and wood filler.
Understanding Italian Wood Finishes
Italian wood finishes are known for their high quality and aesthetic appeal, offering a variety of effects from glossy to matte. These finishes enhance the natural beauty of the wood while providing durability. Whether you’re refinishing an antique piece or adding a touch of class to newer wood items, selecting an Italian finish can elevate the look of your woodwork.
Preparing the Wood
Proper preparation is crucial for a successful application:
- Cleaning: Ensure the wood surface is clean, dry, and free of any dust or grease. Use a mild cleaner and a soft cloth to wipe down the surface thoroughly.
- Sanding: Sand the wood surface to remove old finishes or rough spots. Start with a coarser grit and move to a finer grit to achieve a smooth surface.
- Applying Wood Filler: If there are any cracks or holes, use wood filler to even out the surface. This step is essential for achieving a smooth finish. Allow the wood filler to dry completely, then sand it down smoothly to match the surrounding wood.
Applying the Finish
- Choosing Your Finish: Select the appropriate Italian wood finish from JKMaxx Paints’ Italian range. Consider the type of wood and the desired aesthetic effect when choosing your finish.
- First Coat: Apply a thin coat of finish using a high-quality brush or a clean rag. Work in the direction of the wood grain and maintain a light, even pressure to avoid brush marks.
- Drying: Allow the first coat to dry thoroughly. The drying time can vary based on the type of finish and environmental conditions.
- Sanding Between Coats: Once the first coat is dry, lightly sand the surface with fine-grit sandpaper. This step is crucial for a smooth finish as it removes any imperfections and provides a better surface for subsequent coats to adhere to.
- Additional Coats: Apply subsequent coats as needed, sanding between each coat. Two to three coats are usually sufficient for a robust finish.
To know more read this – Why Choose Italian Wood Coatings: Benefits and Features
Finishing Touches
Once the final coat has dried, inspect your work for any missed spots or potential improvements. If the finish is uneven or shows drips, lightly sand and apply another coat. The key to a professional-looking finish is patience and attention to detail.
Maintaining Your Finish
Maintaining the beauty of your Italian wood finishes involves regular cleaning and occasional touch-ups. Use a soft cloth and avoid harsh chemicals to keep the finish looking new. If the finish begins to wear or gets damaged, it can usually be repaired with a light sanding and a new coat of finish.
Conclusion
Applying Italian wood finishes is a rewarding DIY project that can significantly enhance the appearance of your wood furnishings. With JKMaxx Paints’ Italian range of wood finishes, achieving a luxurious and durable finish is within reach for any DIY enthusiast.
By following these steps and using high-quality products, you can ensure that your wood pieces not only look stunning but also stand the test of time.

